
Final Inspection Checklist for First‑Time Homeowners: Speed Up Claim Closure & Protect Resale Value
— 4 min read
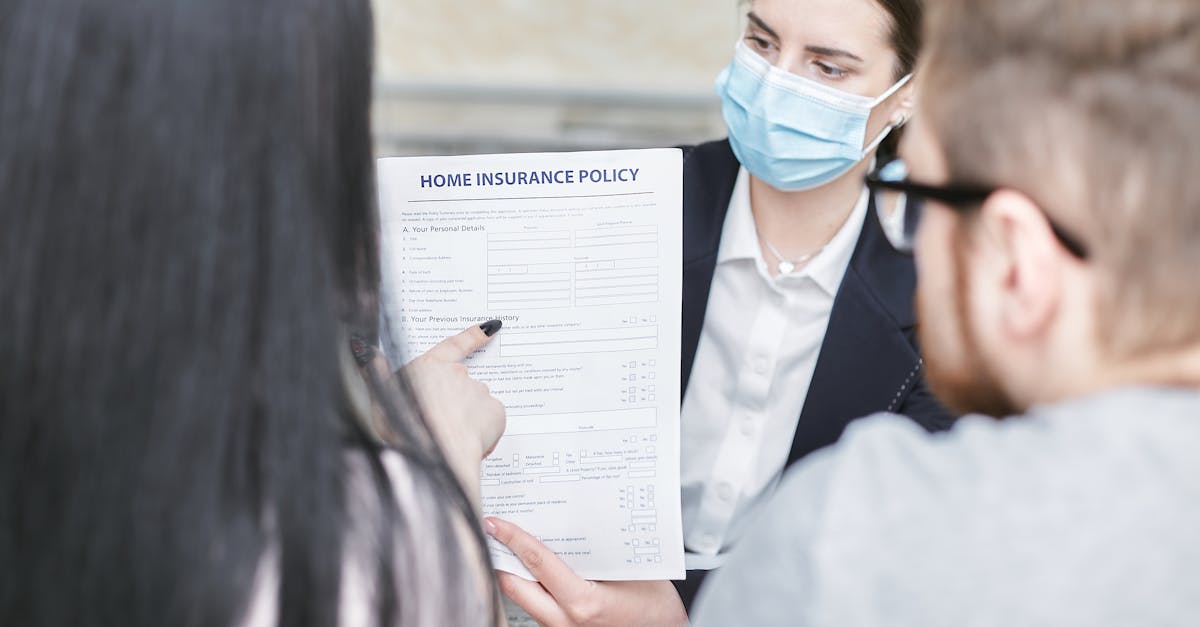
Congratulations, you’ve survived the storm, the leak, or the unexpected fire. As a first-time homeowner, the moment the contractor says “All done” feels like the finish line of a marathon. But the real victory lap happens during the final inspection and the post-repair follow-up. Getting this right can shave days off your claim, lock in the repair quality, and give you a tidy file that adds value when you sell the house.
For a first-time homeowner, the moment the contractor says the job is finished can feel like the end of the insurance claim journey, but the real closure happens during the final inspection and post-repair follow-up. A systematic walkthrough, backed by solid paperwork, catches hidden damage, verifies workmanship, and protects the claim if you ever sell or face a dispute.
Closing the Loop: Final Inspection and Post-Repair Follow-Up
Key Takeaways
- Conduct a detailed walkthrough within 48 hours of repair completion.
- Use a checklist that covers structural, cosmetic, and system-level items.
- Document every step with photos, timestamps, and contractor signatures.
- Submit a concise post-repair report to your insurer to accelerate claim closure.
Think of the final inspection like a quality-control audit on a production line. The contractor may have fixed the visible leak, but you need to verify that the underlying framing, insulation, and electrical pathways are also intact. Start by reviewing the original claim scope: list each damaged component and match it to the contractor’s punch-list. A typical checklist for water-damage claims includes:
- Drywall integrity - look for soft spots or discoloration.
- Floor leveling - run a straight edge across each board.
- HVAC ducts - ensure no residual moisture or mold.
- Electrical outlets - test for proper grounding.
In 2024, insurers are increasingly using AI-driven photo analysis to spot missed issues. That means a clear, timestamped picture can do more than just please your memory - it can become part of the official evidence. During the walkthrough, use a smartphone app that timestamps photos (e.g., Google Photos or a dedicated claims app). Capture before-and-after shots of each repair area, then annotate with arrows or circles to highlight critical points. A study by the Insurance Information Institute found that claims with photo evidence settle 20 percent faster than those without.
"The Insurance Information Institute notes that the average homeowners claim takes about 45 days to settle."
Once you confirm the work meets the agreed scope, ask the contractor to sign a written completion form. This form should list every item repaired, the materials used, and a statement that the work complies with local building codes. Keep this document in a dedicated claim folder - both digital (cloud storage) and physical (binder). When you file the post-repair report with your insurer, attach the signed form, the photo log, and a one-page summary that references the original claim number. Insurers often require this package to release the final payment, and a well-organized submission can shave days off the settlement timeline.
Pro tip: Schedule the final inspection for a weekday morning. Adjusters are less likely to be juggling multiple sites, so you’ll get quicker feedback if additional work is needed.
Another trick that many seasoned homeowners swear by is to run a quick moisture meter on any area that was previously wet. Even if the surface looks dry, hidden moisture can linger for weeks and lead to mold later. A quick readout (under 20% relative humidity) gives you confidence that the drying process is truly complete.
Organizing Documentation for Resale and Dispute Protection
Even after the claim is closed, the paperwork you gathered becomes a valuable asset when you decide to sell the house or if a future dispute arises. Buyers typically request a “home repair history” as part of their due-diligence, and a well-documented file can boost confidence and potentially increase the resale value.
Start by creating a master index that lists every claim filed since you bought the home. For each entry, include:
- Claim number and date filed.
- Type of loss (e.g., wind, water, fire).
- Scope of repairs and contractor details.
- Final settlement amount and any deductible paid.
Next, digitize all receipts, contracts, and inspection reports. Services like Dropbox or Google Drive allow you to tag files with keywords such as "roof repair 2023" or "basement flood 2022," making retrieval effortless. According to a 2022 survey by the National Association of Realtors, homes with a complete maintenance log sell 7 percent faster than those without.
When you list the property, attach a concise “Repair Summary” to the listing description. Highlight major improvements - "New roof installed after 2022 windstorm, fully documented with insurance claim #123456" - and provide a link to the digital folder for interested buyers. This transparency not only speeds up negotiations but also protects you from post-sale claims of undisclosed damage.
If a future dispute emerges - say a buyer alleges a hidden defect - you can quickly pull the original inspection photos, contractor sign-off, and the insurer’s final acceptance letter. Courts and arbitrators frequently rely on such contemporaneous records, and having them organized reduces legal fees and settlement costs.
Pro tip: Store a sealed, printed copy of the complete claim file in a fire-proof safe. Digital backups are great, but a physical record safeguards you against cyber-theft or cloud outages.
Finally, think of your claim folder as a living document. Whenever you complete a new repair - whether it’s a small kitchen faucet or a full-scale roof replacement - add the paperwork right away. Over time you’ll build a timeline that reads like a story of care and investment, a narrative that savvy buyers love to hear.
What is the best time frame to conduct a final inspection after repairs?
Ideally, schedule the walkthrough within 48 hours of the contractor’s completion notice. This window captures any fresh moisture or minor defects before they set.
Do I need a professional inspector for the final walkthrough?
A professional inspector isn’t required if you use a detailed checklist and document everything yourself. However, for complex claims involving structural work, an independent engineer can add credibility.
How should I present my post-repair documentation to the insurer?
Submit a concise report that references the original claim number, includes the signed contractor completion form, a photo log with timestamps, and a one-page summary of repairs. Email is usually acceptable, but keep a PDF version for your records.
Can organized claim records affect my home’s resale value?
Yes. Buyers value transparency. A 2022 Realtor survey showed homes with a complete repair history sold 7 percent faster, and many buyers are willing to pay a premium for documented, well-maintained properties.
What should I do if the final inspection reveals new issues?
Document the new findings, photograph them, and notify both the contractor and your insurer immediately. Most policies allow a supplemental claim within 30 days of the original settlement.


